A simple snake game in pure HTML and JavaScript, part 1
Many people who are starting out with a new project get caught up in deciding on technologies, what frameworks to use and what database to pick. When often — especially if you are a beginner — it is a better idea to just get started, and make something with the tools you know.
This is the first part of a tutorial that will show how you can build a snake game in less than a hundred lines of JavaScript, without any frameworks. There is some HTML and CSS in addition, but nothing scary. Any beginner to the web platform should be able to go through the guide, and experienced developers will learn something new as well.
Getting started with Snake
Start with an empty HTML document and open it in Chrome. Insert the following code that just sets up a HTML document with style / script tags and a function to set up the game.
<!DOCTYPE html5>
<html>
<head>
<title>Snake in pure HTML/JavaScript/CSS</title>
<style>
    html {
        text-align: center;
        font-family: Helvetica, Arial, Helvetica, sans-serif;
    }
</style>
</head>
<body onload="initGame()">
    <h1>Simple Snake</h1>
    <div id="board"></div>

    <script>
    function initGame() {

    }
    </script>
</body>
</html>Let’s start from the top: The head tag. In here we have a title to put a document
title on the page, as well as a style tag containing styling to center the contents
of the page horizontally and change the font to a sans-serif one.
The the body element, which contains a h1 element with the title of the game and
a single div element that will contain the game board. We have it tagged with the id ‘board’
so we can access the element from JavaScript. We also have a script that will soon contain
all of our game logic.
The body element also has an onload handler, which calls the initGame function
defined in the script tag. This means that once the document is completely loaded,
the code inside initGame will run. There is nothing there yet, so lets’ get started!
Note: If you view the source code on all examples, there will be a script tag at the bottom that handles integration with the iframe when the examples are included on this page. You can inspect it if you like, but it is not necessary to understand it.
Creating the board
We’ll start out by creating the game board.
The board will be represented as a two-dimensional array, that is, an array of arrays.
We create this as a constant variable inside the script tag called board, we also
define the width and height of the board with two constant variables. Here I have
arbitrarily picked 26 by 16 cells (this is a convenient size to fit on screen).
<script>
const board = [];
const boardWidth = 26, boardHeight = 16;

function initGame() {
    // Logic to come
}
</script>
To make it simple, we’ll build the entire board out of div elements, and will style
these to look like cells, apples and the snake. We create these diivs by iterating over
the Y and X axes, creating columns and rows of items:
function initGame() {
    for (var y = 0; y < boardHeight; ++y) {
        for (var x = 0; x < boardWidth; ++x) {
            var cell = {};
        }
    }
}
Each cell will be defined by an empty object {}. In this object we will put the state for each cell.
We need to fetch the board from the DOM (remember the <div id="board></div>"?). We
do this using document.getElementById and store it in a variable. This is done outside
the loops.
For every cell, we create a div element on the board via document.createElement.
Then we add this cell to the boardElement, meaning every cell will have a matching div in the DOM.
function initGame() {
const boardElement = document.getElementById('board');
for (var y = 0; y < boardHeight; ++y) {
for (var x = 0; x < boardWidth; ++x) {
var cell = {};
// Create a <div></div> and store it in the cell object
cell.element = document.createElement('div');
// Add it to the board
boardElement.appendChild(cell.element);
}
}
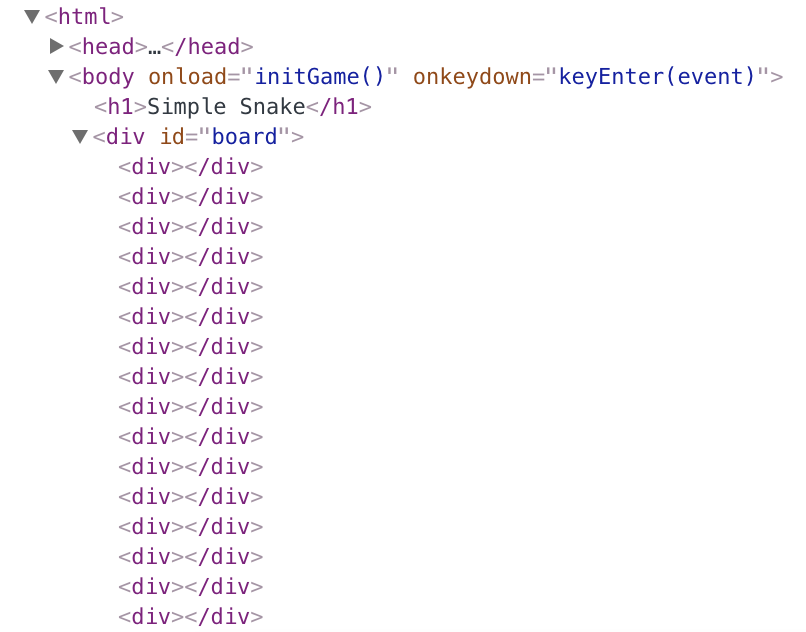
}You can use the developer tools for Chrome to look at the document structure, and you will see all the elements.
Finally, we need to store all these cells inside the board array of arrays.
We do this by creating an array for every row, and pushing the cells into
this row in the inner loop, and every row into the board array for every
outer loop, giving us our final initGame function:
function initGame() {
    for (var y = 0; y < boardHeight; ++y) {
        var row = [];
        for (var x = 0; x < boardWidth; ++x) {
            var cell = {};

            // Create a <div></div> and store it in the cell object
            cell.element = document.createElement('div');

            // Add it to the board
            boardElement.appendChild(cell.element);

            // Add to list of all
            row.push(cell);
        }

        // Add this row to the board
        board.push(row);
    }
}
However, if you run this code, nothing will show up. This is because div
elements by default are invisible, we need to give the some styling to make
them visible on the page.
To make the divs visible, we assign them a black background color, a width and a
height. We do this using CSS, by adding some code inside the <style> tag in the template.
To style the cells we use the #board div selector. This targets all the
div elements inside the element with the id board.
If you try only this they will all lay out in a loooong column down the page that is 24 pixels wide. To fix this, we need to float the elements. This moves them around so that there is not a line break after every element. Instead the page will now display as rows and columns of solid blocks.
#board div {
    background-color: black;
    border: 1px solid grey;
    box-sizing: border-box;
    float: left;
    width: 24px;
    height: 24px;
}The box-sizing property is necessary so that the width of the borders don’t make the
cells wider than 24px. You can
read up on box-sizing if you are curious about this.
If you view the above example, you will notice that the grid is not square,.
We also need to limit the board in width, so that the grid is only 26 cells
wide. We specify the width of #board to be 26 * 24px, and use the calc
function in CSS to not have to calculate this number manually. The margin: auto
means that the board will be centered horizontally on-screen.
#board {
    width: calc(26 * 24px);
    margin: auto;
}
We now have a black grid for the snake game!
It is not very interesting yet though, because we don’t have any snake on the game board to control.
Keep track of the game state
Next we need to add the snake to the board. We start by defining the properties the snake has in this game, there are a few:
- Direction — The snake is moving either left, right, up or down. We can store this as strings
'Up','Down','Left'and ‘Right’. - Position — Defined as a X and Y position on the board. Note that 0, 0 will be top left on the board and 25, 15 will be bottom right.
- Length — Length of the snake in segments.
Let’s create global variables for these properties:
// Add this after the global <script> tag
var snakeX;
var snakeY;
var snakeDirection;
var snakeLength;
We also need to store the tail of the snake. To keep track of this, we store the information about the tail in the board. So we’ll add a property snake to every cell on the board.
We’ll give it an integer value of 0 to denote that the snake is not on the space (at the start of the game).
// Update this inside the initGame function
var cell = {
    snake: 0
};
Start the game
We also need to give some default values to the snake properties. We’ll do that in a new startGame function. This function will set all the properties to default values at the start of the game.
The snake will start moving upwards, with a length of 5 segments.
It will start in the center of the board (divide width and height by 2), we need to use Math.floor
here to round down, since if the board width is 25, 12.5 is not a meaningful position on the grid.
function startGame() {
    // Default position for the snake in the middle of the board.
    snakeX = Math.floor(boardWidth / 2);
    snakeY = Math.floor(boardHeight / 2);
    snakeLength = 5;
    snakeDirection = 'Up';

    // Set the center of the board to contain a snake
    board[snakeY][snakeX].snake = 1;
}
Why create a new function for this? We could just use default values for global variables? The reason is we also need to do the same thing when the player dies to reset the game state, by putting it in a function we can reuse.
In other words: initGame will only run once for the entire application, but startGame will run multiple times.
Add a call to startGame from the end initGame (before the final }). With this
addition, we’re done with the first part of the tutorial.
Wrapping up
Next time, we will make the snake visible on the board and implement keyboard controls, so that you can steer it around the board using the keyboard.
Continue with part 2 of the tutorial.